Adding PHPStan to a Laravel application


Install the dependency:
composer require --dev larastan/larastanIf you are using Laravel, make sure to install larastan. Laravel comes with a huge amount of magic that is not compatible with a static type system, but the larastan package covers most of that. It installs phpstan under the hood and provides an additional set of rules.
If you are not using Laravel, require phpstan/phpstan instead.
Create a file called phpstan.neon in your application's root directory:
includes:
    - vendor/larastan/larastan/extension.neon
    - vendor/nesbot/carbon/extension.neon

parameters:
    paths:
        - app/

    level: 8
This is a basic configuration to get started. Some explanations:
- .neon is just another configuration file format (similar to .yaml).
- The includes make sure we get comprehension for Laravel specific things. For example, if you do something like
$repo = app(BillingRepository::class);the official type of $repo is mixed. However, larastan is smart enough to figure out that $repo will be a BillingRepository indeed, and allows you to call the methods on that object without warnings. - level: 8 is a pretty strict level. It can go up to 9 (or even 10 in the latest versions of PHPStan). I recommend starting at level 8, getting comfortable with it, and eventually graduating to level 9.
- paths: here you can configure the paths which should be analyzed. I recommend starting with /app, later on you can add other folders like /tests, /config and so on.
Run the analysis:
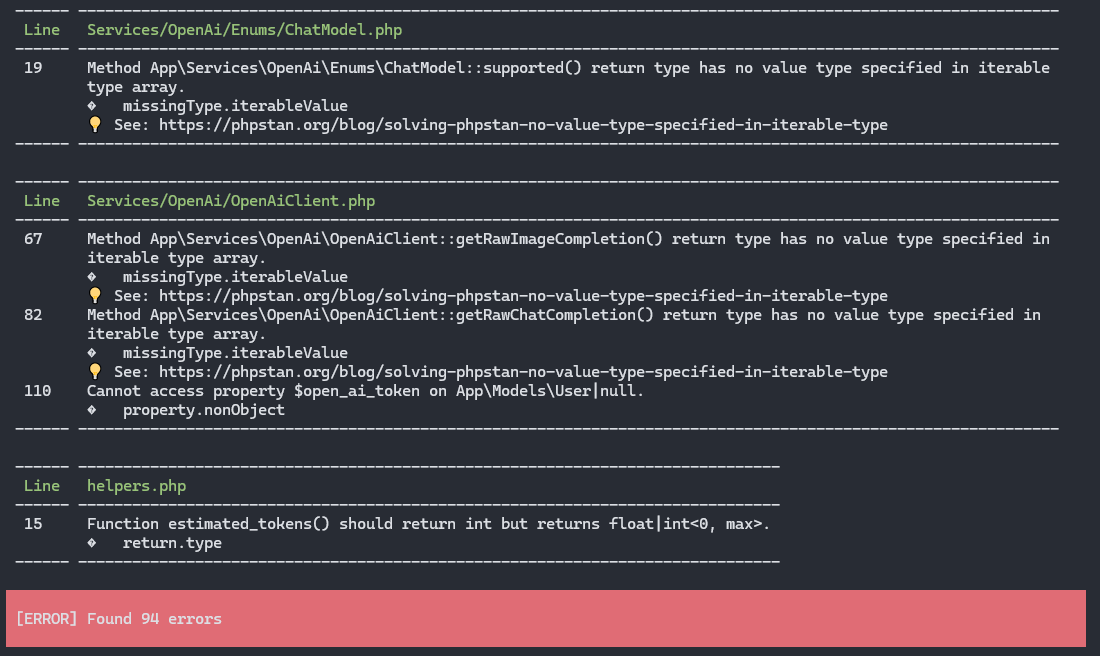
vendor/bin/phpstan analyze -vThe main command of phpstan. It analyzes your code. The -v option causes the rule names to be printed out for each violation. The output will look similar to this:
Create a baseline
vendor/bin/phpstan analyze -v --generate-baseline phpstan-baseline.phpThe analyze command probably gave you a lot of error reports. Assuming you are adding PHPStan to an existing project at work, it is recommended to just generate a baseline, so you have a small merge request without any unnecessary code changes. Running this command writes all the current errors (and their position in the source code) into a file. This allows you to start enforcing the analysis rules to all new and changed code without having to fix the entire project first.
The output should look like this:

Include the baseline in your phpstan.neon file:
includes:
    - vendor/larastan/larastan/extension.neon
    - vendor/nesbot/carbon/extension.neon
    - phpstan-baseline.php

parameters:
    paths:
        - app/

    level: 8

    reportUnmatchedIgnoredErrors: false
In order for the baseline to take effect, you have to add it into the includes section in your phpstan.neon file.
I also added reportUnmatchedIgnoredErrors: false . By default this option is true, and leads to an error if you fix an ignored error without removing it from the baseline file - this can be irritating for other devs in your team.
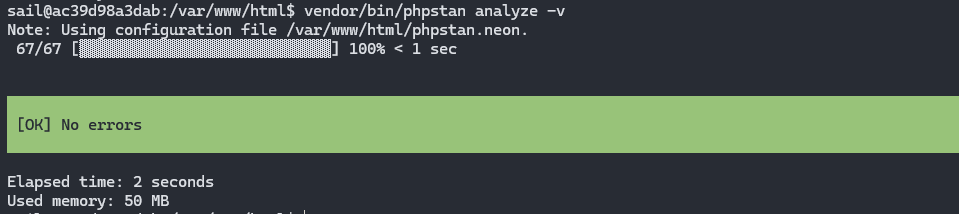
Now when running the analyze command again, you should get a green output:
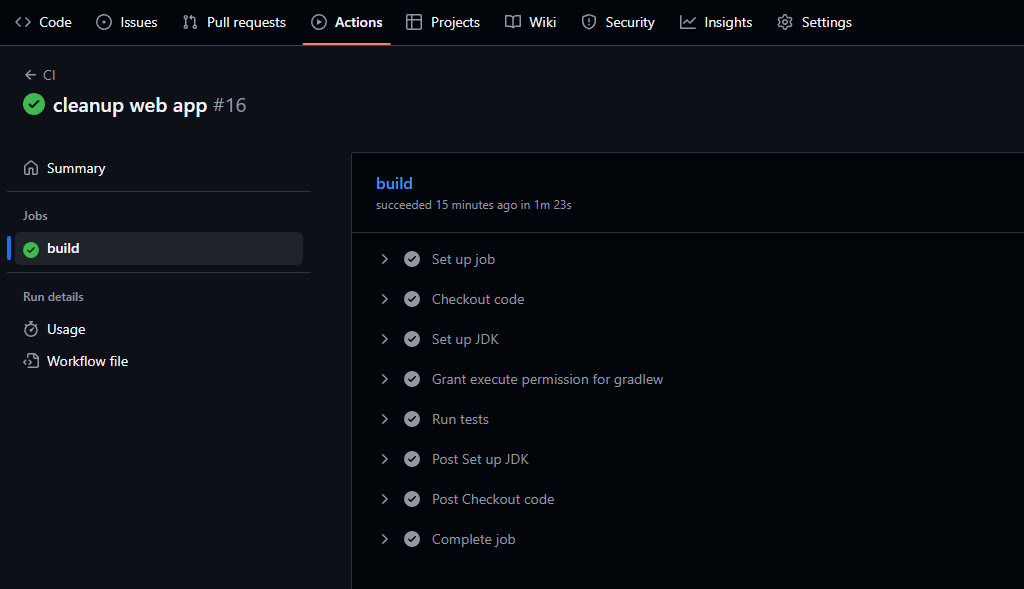
This means you can add the analyze command to your pipeline setup, and prevent weak and vulnerable code from being merged.
Ignoring errors:
There may be situtations where you have to ignore errors. One example was already mentioned. When adding phpstan to an existing project, creating a baseline is a good option.
Other reasons may be, you are working on some legacy code and the effort of fixing the type system is too high and too risky. Or, you do not understand yet how to fix it. In that case can also ignore errors in your code, like this:
if ($couldBeFalse) {
    $foo = "hello world";
}

echo $foo; // @phpstan-ignore variable.undefined
You can find even more ways here: https://phpstan.org/user-guide/ignoring-errors
I recommend not ignoring any errors unless you feel it is absolutely necessary. If you have an error and don't know what to do with it: Post it here as a comment and will personally explain to you what the error means and how to fix it.
Summary
To get started with PHPStan in Laravel and write more robust and maintainable code and catch many bugs without even writing a test:
- install larastan via composer
- create a basic phpstan.neon file with level 8, and make sure to include the larastan extension
- run phpstan analyze to confirm it works (and probably get lots of errors)
- generate a baseline
- adjust the phpstan.neon file to include the baseline
- add phpstan analyze as a step in your pipeline and enjoy higher code quality in your project going forward